How to Repair Plasterboard Holes: Small to Large Damage
Quick summary: Most plasterboard holes are DIY-fixable in under a day. Small nail holes need only filler and a scraper. Medium holes need a self-adhesive mesh patch. Large holes need an offcut of plasterboard, some battens, and a bit of patience with the sanding. Budget $30–$80 in materials from Bunnings, and always let each coat dry fully before sanding or you'll just create more work.
Plasterboard damage looks worse than it is. Whether it's a doorknob dent, a picture hook gone wrong, or a hole from moving furniture, the repair process follows the same basic logic every time: clean the edges, fill or patch, sand smooth, prime, paint.
This guide walks through every size of damage, from pinhole to structural, using tools and products you can grab from Bunnings, Total Tools or Mitre 10 in one trip.
Understanding Plasterboard Damage
Before you pick up a scraper, it helps to know why the hole is there and how big a job you're actually facing.
Common Causes of Holes
The usual suspects are door handles punching through walls, furniture being moved carelessly, kids and pets, old picture hooks and screws, and water damage that's softened the board. Each leaves a different type of damage — a doorknob punches a clean round hole, while water damage tends to crumble the plasterboard around the edges and needs the affected section cut out entirely.
Assessing the Size and Severity
Before buying materials, categorise the damage:
- Small – nail holes, screw holes, small dents under about 10mm
- Medium – holes up to roughly 100mm across (door handles, minor impacts)
- Large – anything bigger than a fist, or damage that's crumbled the board's paper facing, or holes that expose wiring or insulation
The category determines everything from the tools you need to whether this is a Saturday afternoon job or something worth calling a plasterer for.

Tools and Materials from Bunnings
Essential Repair Kit Checklist
You don't need a huge kit for most plasterboard repair jobs. Here's what covers small to large repairs:
| Item | Approx. Price (AUD) | Used For |
|---|---|---|
| Selleys spakfilla all purpose filler | $12–$16 | Small holes, nail marks, hairline cracks |
| Self-adhesive mesh patch (100–150mm) | $6–$10 | Medium holes |
| Plasterboard offcut (10mm or 13mm) | $8–$15 | Large holes |
| Timber battens (42x18mm) | $4–$8 per metre | Backing/support for large patches |
| Ryobi cordless drill driver | $99–$179 | Screwing patches and battens in place |
| Joint compound (like CSR Gyprock Base Coat ) | $18–$25 | Second and third coats over mesh/patches |
| Sanding sponge or 120–180 grit sandpaper | $5–$10 | Smoothing dried filler |
| Stanley knife or plasterboard saw | $10–$25 | Cutting patches and trimming board |
| Putty knife/scraper set | $10–$20 | Applying filler and compound |
| Sealer undercoat | $20–$35 | Priming before paint |
Most homeowners can handle a small-to-medium repair for well under $50 in materials.
Fixing Small Holes and Nail Marks
How do I fix a small nail hole in plasterboard myself?
This is genuinely a five-minute job. Grab a flexible filler like Selleys Spakfilla, a small putty knife, and some fine sandpaper.
Step-by-Step Filling Process
- Clean the hole – Brush away loose dust or crumbled plaster with a dry cloth.
- Apply filler – Load a small amount onto your putty knife and press it into the hole, drawing the blade across at a slight angle to push filler in rather than smear it on top.
- Scrape flush – Run the blade flat across the surface to remove excess. You want it level with the wall, not domed.
- Let it dry – Check the tin, but most lightweight fillers are touch-dry in 30 minutes and fully cured in 2–4 hours.
- Sand lightly – A quick pass with fine sandpaper or a sanding sponge blends it into the surrounding wall.
- Spot prime and paint – A dab of sealer undercoat followed by your wall paint finishes the job.
For multiple small holes (like a wall full of old picture hooks), do them all in one filling session to save time.
Repairing Medium-Sized Holes
Once a hole gets past about 20–30mm, filler alone won't hold — it'll crack or fall out because there's nothing behind it to key into.
Using Mesh Patches
Self-adhesive fibreglass mesh patches are the easiest fix for medium holes and don't require cutting into the wall.
- Clean loose debris from the hole and surrounding area.
- Peel the backing off the mesh patch and press it firmly over the hole, centred so it overlaps the damage by at least 25mm on all sides.
- Apply joint compound over the patch with a wide putty knife, feathering the edges out well beyond the mesh so there's no visible ridge.
- Let it dry fully (check drying times below), then apply a second, thinner coat, feathering even wider.
- Sand smooth once fully cured.
Two thin coats almost always look better than one thick coat — thick compound is more likely to crack and takes far longer to dry through.

Fixing Large Holes and Structural Damage
What is the best way to repair a large hole in plasterboard?
For anything over fist-sized, mesh patches won't cut it — you need an actual piece of plasterboard cut to fit, supported by timber battens.
Cutting and Fitting a Plasterboard Patch
- Square up the hole – Use a Stanley knife and straightedge to cut the damaged area into a neat square or rectangle. This makes cutting your patch far easier than trying to match an irregular shape.
- Cut the patch – Measure the squared hole and cut a plasterboard offcut slightly larger, allowing enough overlap to screw into your battens.
- Test fit – Hold the patch up to check it sits flush with the surrounding wall thickness (most home plasterboard is 10mm; some is 13mm).
Securing with Battens or Noggins
If there's no existing stud or noggin behind the hole to screw into, you'll need to create backing:
- Cut two lengths of timber batten slightly longer than the hole's height (or width, depending on orientation).
- Slide them into the cavity behind the hole, holding them so half protrudes into the opening.
- Screw through the plasterboard face into the batten on each side to lock it in place, using your cordless drill.
- Screw the new plasterboard patch into the battens, driving screw heads just below the surface without tearing the paper.
- Apply mesh tape over all four joins, then cover with joint compound in two to three thin coats, feathering each wider than the last.
This method is essentially what tradespeople do — there's no shortcut that gives a better result.
Can you use the same repair method for wall and ceiling holes?
Yes, the process is identical, though ceiling repairs are trickier because you're working overhead and gravity works against you. Use screws rather than nails for any ceiling patch, and consider a helper to hold the patch in place while you fix it — plasterboard is heavier than it looks when you're holding it above your head.
Sanding for a Smooth Finish
How long does plasterboard filler take to dry before sanding?
This is where most DIY repairs go wrong — people sand too early and drag wet compound across the wall. As a rule:
- Lightweight fillers (Spakfilla-type): 2–4 hours
- Standard joint compound: 24 hours per coat
- Humid Australian conditions (especially Queensland and coastal NSW) can extend drying time significantly
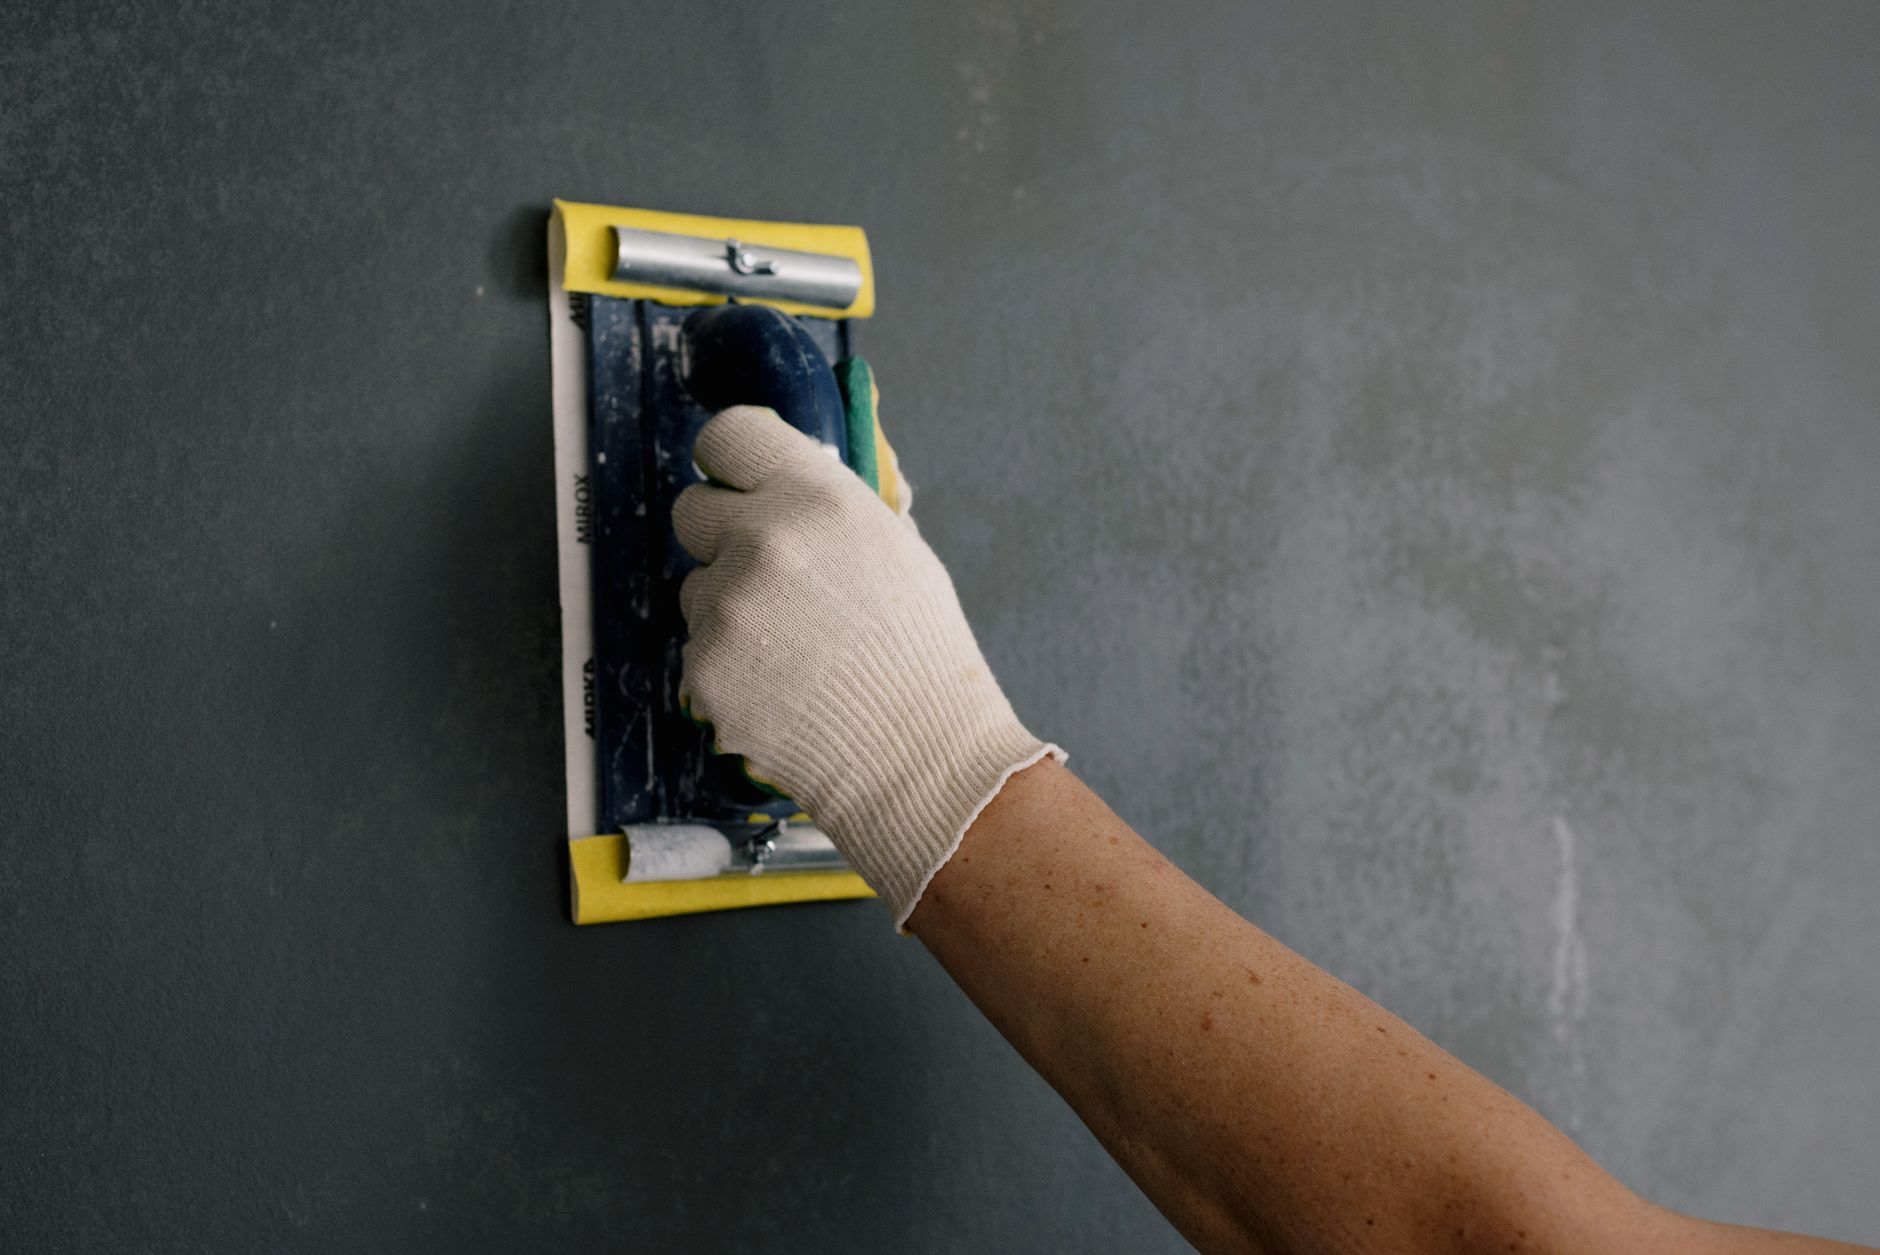
Once dry, use a sanding sponge or 150–180 grit paper in circular motions, feathering out from the centre. Wipe with a damp cloth to check for ridges — run your hand over the dry wall in good side-lighting, which shows up bumps that are invisible from straight on.

Priming and Painting the Repaired Area
How do I sand and paint a plasterboard repair so it's invisible?
The trick to an invisible repair isn't just the patching — it's the priming. Bare filler and joint compound absorb paint differently to the surrounding painted wall, causing a visible "flash" or dull patch even after painting.
- Apply a sealer undercoat over the entire repaired area, feathering slightly onto the existing paint.
- Let it dry fully (check the tin, usually 1–2 hours).
- Paint with your wall's existing colour, feathering the roller out beyond the repair edge to blend with the surrounding sheen.
- For a truly invisible finish on a feature wall or high-visibility area, paint the entire wall rather than just the patch — sheen and slight colour variation are hard to hide otherwise.
When to Call a Professional
When should I call a professional instead of fixing plasterboard myself?
Most holes are DIYable, but call a licensed plasterer or handyman if:
- The damage covers a large area of a ceiling (overhead work with heavy board is genuinely risky solo)
- There's visible water staining, which suggests an ongoing leak that needs addressing first
- You find mould or a musty smell behind the plasterboard
- The hole exposes electrical wiring you're not confident handling
- You're repairing multiple large holes and it's more cost-effective to get a tradesperson to skim the whole wall
A professional plasterboard repair for a single hole typically costs $150–$300, which is worth it if you're not confident with the finishing coats — a poorly feathered repair is often more noticeable than the original hole.
Frequently Asked Questions
Do I need to prime plasterboard filler before painting? Yes. Skipping the primer is the number one reason DIY repairs are visible after painting.
Can I use standard wall putty instead of plasterboard filler? No — plasterboard filler is formulated to bond and shrink differently to timber putty. Stick to a purpose-made product like Spakfilla or a joint compound.
Is plasterboard the same as drywall? Yes, drywall patching and plasterboard repair are the same process — "drywall" is the American term, "plasterboard" is what Australians use.
What thickness plasterboard should I buy for patches? Check your existing wall first. Most Australian homes use 10mm for walls and 13mm for some ceilings — Bunnings sells small offcut-sized boards specifically for repairs.
Bottom Line
Repairing plasterboard holes is one of the most achievable DIY jobs in the house — the materials are cheap, the tools are basic, and the technique scales predictably from a nail hole to a fist-sized dent. The real skill is patience: letting each coat dry properly, feathering wide, and sanding before you paint. Rush those steps and even a perfect patch will show. Take your time, and there's no reason your wall won't look factory-fresh by the weekend.