How to Insulate Walls and Ceiling: DIY Guide to Reduce Energy Bills
Quick Summary: Proper insulation can cut your energy bills by up to 40% and dramatically improve home comfort. This guide covers everything from choosing the right R-values for your climate zone to step-by-step installation of bulk and reflective insulation in walls and ceilings, plus available government rebates.
Understanding Australian Climate Zones and R-Value Requirements
Australia's diverse climate means insulation requirements vary significantly depending on your location. Getting this right is crucial for maximum energy savings and comfort.
Climate Zone Map and Minimum R-Values
Australia is divided into eight climate zones, each with specific minimum R-value requirements under the National Construction Code:
- Zone 1 (Darwin, Cairns): Wall R1.5, Ceiling R3.5
- Zone 2 (Brisbane, Townsville): Wall R1.5, Ceiling R3.5
- Zone 3 (Sydney, Perth): Wall R1.5, Ceiling R3.5
- Zone 4 (Adelaide): Wall R1.5, Ceiling R5.0
- Zone 5 (Melbourne): Wall R1.5, Ceiling R5.0
- Zone 6 (Canberra): Wall R2.5, Ceiling R6.0
- Zone 7 (Ballarat, Orange): Wall R2.5, Ceiling R6.0
- Zone 8 (Mount Gambier): Wall R2.5, Ceiling R6.0
These are minimum requirements – installing higher R-values typically provides better returns on investment, especially in extreme climate zones.
How R-Values Affect Energy Savings
R-values measure thermal resistance – higher numbers mean better insulation performance. A properly insulated home in Melbourne (Zone 5) with R2.5 walls and R6.0 ceiling insulation can reduce heating and cooling costs by 35-45% compared to an uninsulated home.
For every additional R1.0 in ceiling insulation beyond minimum requirements, you'll typically see an extra 5-8% energy saving, making premium products like Bradford Polyester R6.0 ceiling batts a smart long-term investment.
Types of Insulation: Bulk vs Reflective
Understanding the difference between bulk and reflective insulation is essential for choosing the right products and installation methods.
Bulk Insulation Materials and Applications
Bulk insulation works by trapping air in fibres, foam, or other materials to slow heat transfer. Popular options include:
Glasswool batts like Pink Batts R1.5 wall insulation are cost-effective and easy to install, typically $4-6 per square metre. They're ideal for standard wall cavities and ceiling joists.
Polyester batts offer better performance in humid conditions and are non-combustible, costing around $6-9 per square metre. The Bradford Polyester R2.5 wall batts are excellent for coastal areas.
Natural wool batts provide superior thermal performance and moisture management but cost $12-18 per square metre. They're worth considering for premium builds or sensitive occupants.
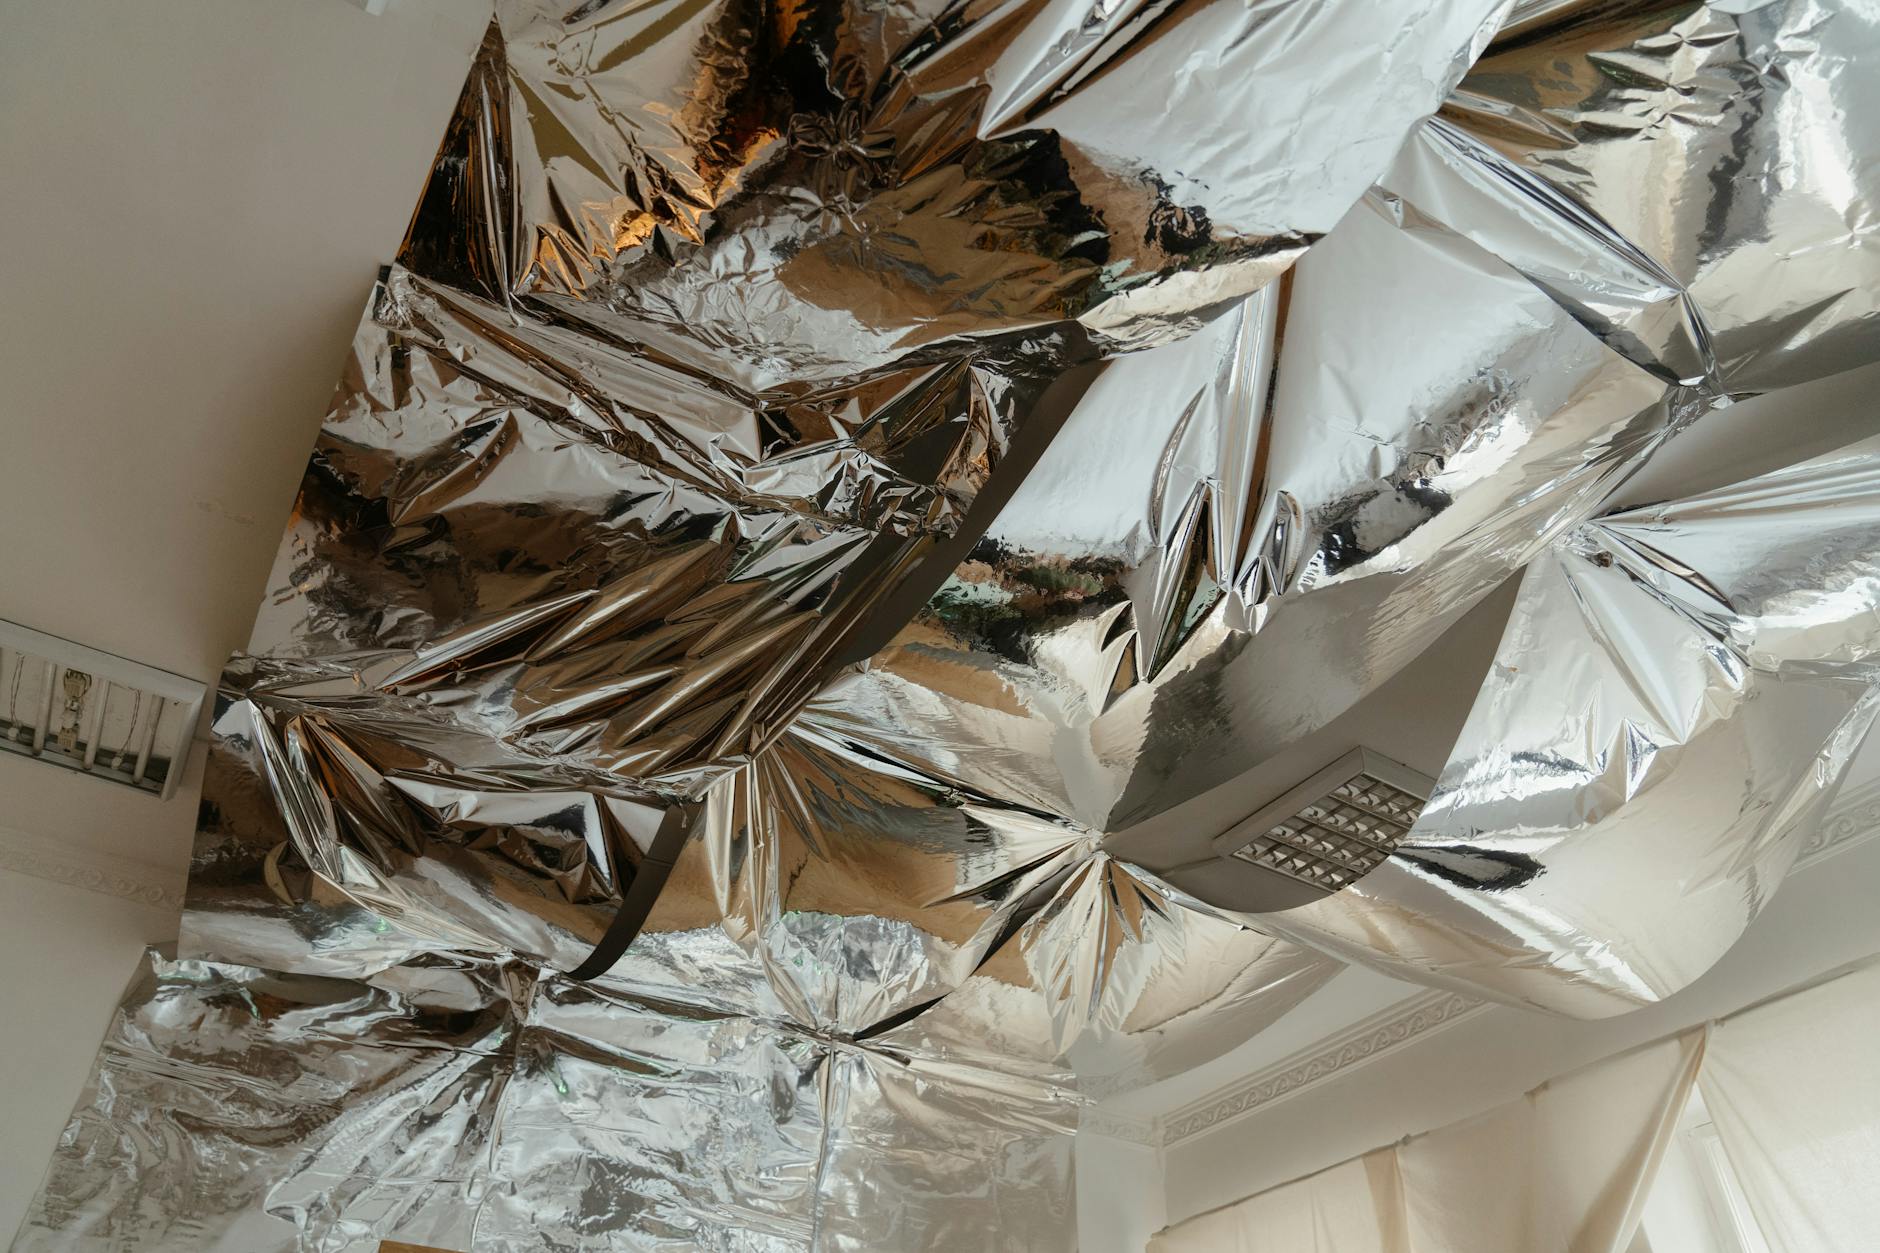
Reflective Insulation Benefits and Installation
Reflective insulation uses shiny surfaces to reflect radiant heat rather than absorbing it. It's particularly effective in Australia's hot climate zones.
Thermoguard reflective foil insulation creates an effective radiant barrier when installed with proper air gaps. Combined with bulk insulation, it can boost total R-value by R1.5-2.0 in summer conditions.
Reflective insulation must face an air space of at least 25mm to work effectively. This makes it perfect for installation under roof tiles or behind wall cladding.
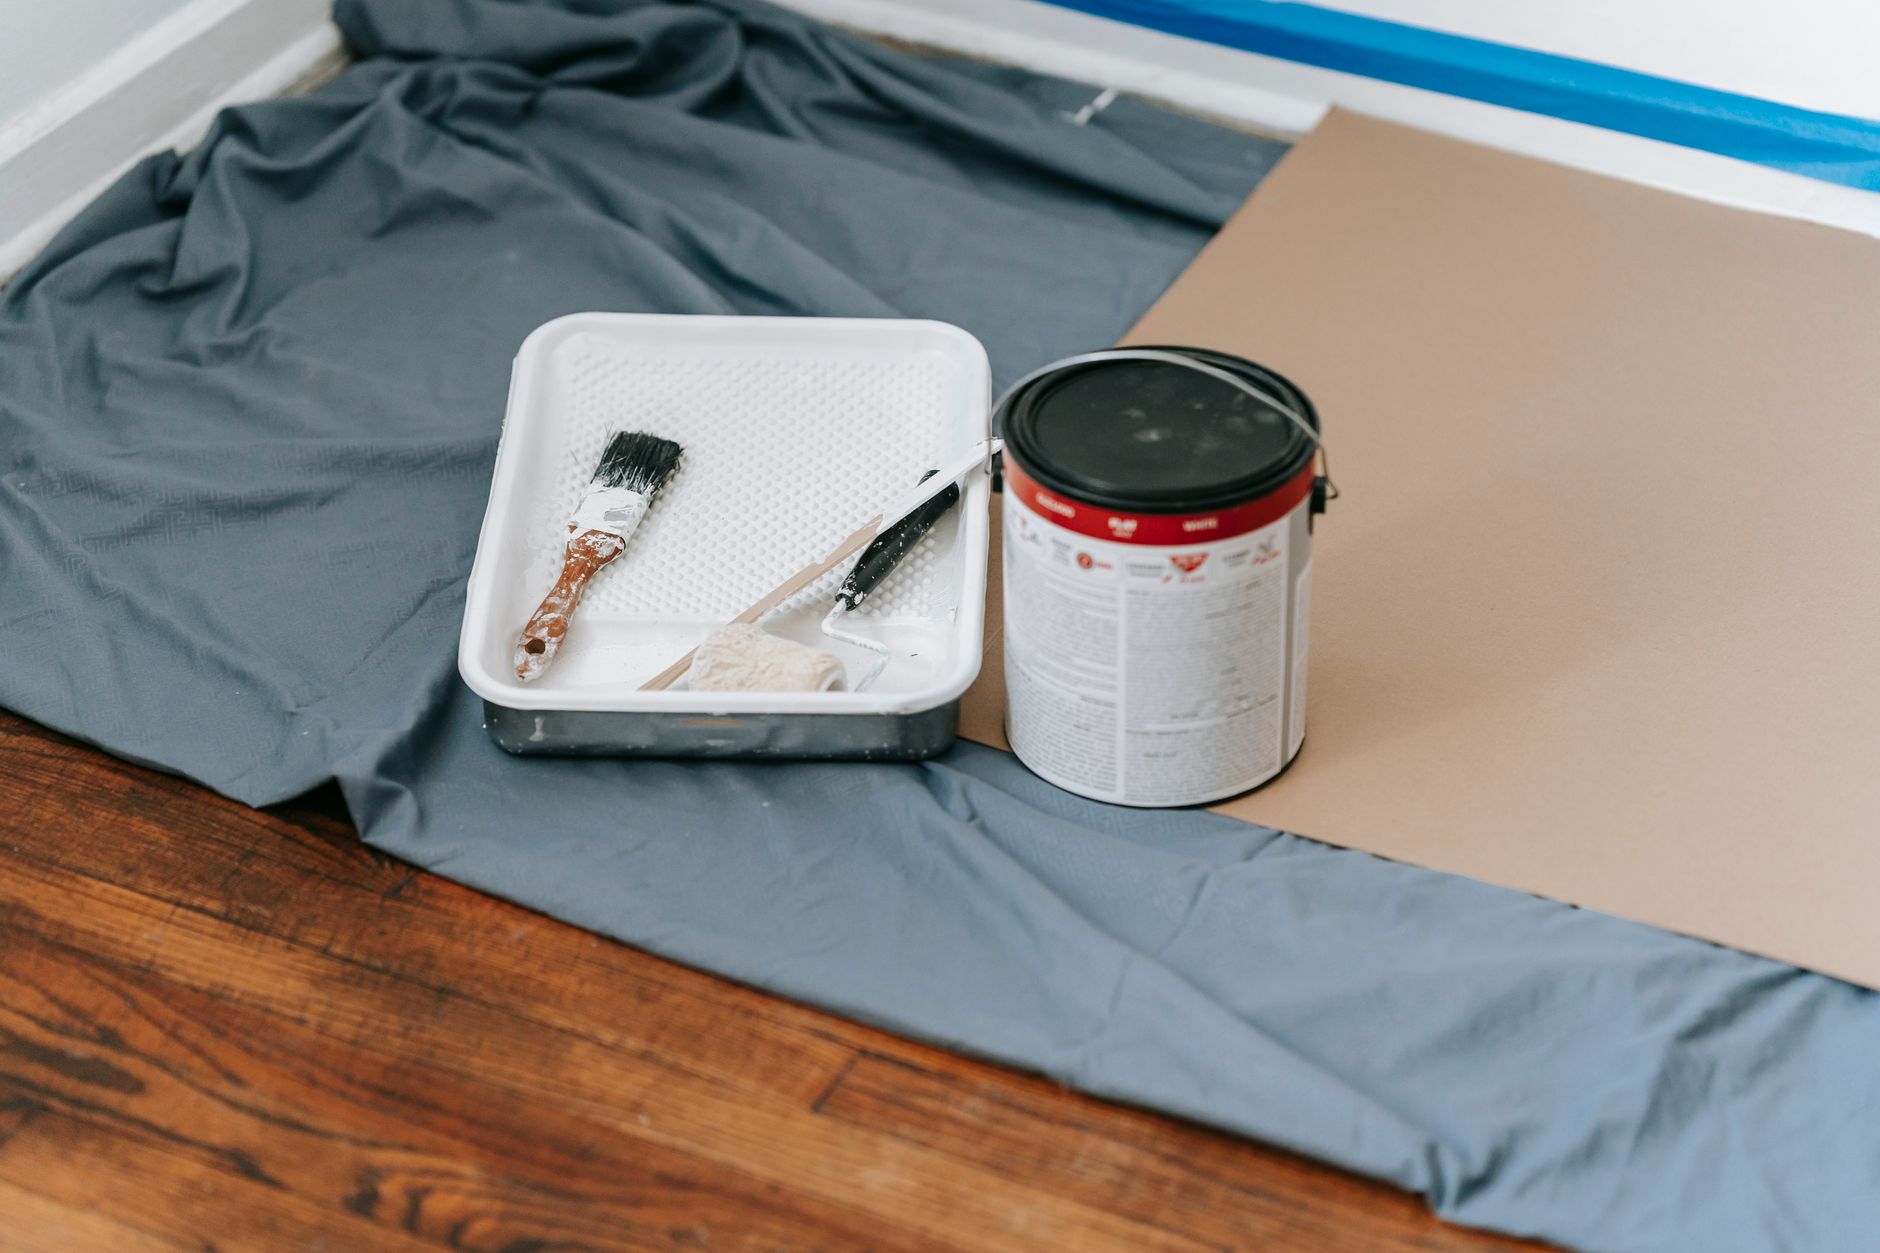
Essential Safety Equipment and Preparation
Safety is paramount when working with insulation materials and in roof spaces. Don't compromise on protective equipment.
Personal Protective Equipment Checklist
Respiratory protection: Use a P2 dust mask minimum, preferably a half-face respirator with P2 cartridges when working with glasswool or in dusty roof spaces.
Eye protection: Safety glasses or goggles prevent fibres from irritating eyes, especially important with glasswool products.
Skin protection: Long sleeves, long pants, and disposable coveralls prevent itching and irritation. Nitrile gloves protect hands while maintaining dexterity.
Knee protection: Knee pads are essential when crawling in roof spaces or working on floors.
Tools and Materials You'll Need
Cutting tools: A sharp utility knife and long-blade insulation knife make clean cuts. The Stanley FatMax retractable knife handles thick batts easily.
Measuring equipment: Steel tape measure, pencil, and square for accurate cuts.
Installation aids: Staple gun for securing batts, wire or plastic hangers for ceiling installation, and duct tape for sealing gaps.
Access equipment: Sturdy ladder, drop sheets to protect floors, and adequate lighting for roof spaces.
Step-by-Step Wall Insulation Installation
Installing wall insulation requires precision and patience for optimal performance and safety compliance.
Measuring and Cutting Insulation Batts
Measure stud spacing carefully – most Australian homes use 450mm or 600mm centres. Cut batts 10-15mm wider than the cavity to ensure a snug fit without compression.
Use a sharp knife and compress the batt lightly while cutting. A straight edge or metal ruler ensures clean, square cuts. Mark the foil backing if using reflective-backed products.
Installing Between Wall Studs
Push batts gently into cavities, ensuring they spring back to full thickness. Don't compress insulation – this reduces R-value significantly. The batt should sit flush with the stud faces without bulging.
For friction-fit batts, no fastening is needed. If using unfaced batts in exposed situations, secure with wire hangers or staples to timber studs every 450mm.
Dealing with Electrical Outlets and Fixtures
Never compress insulation around electrical fixtures or outlets. Split batts carefully and fit snugly around electrical boxes, maintaining the required clearances.
For downlights and heat-generating fixtures, maintain minimum 200mm clearances or use specially rated products. Consult an electrician if unsure about specific fixture requirements.
Ceiling Insulation Installation Guide
Ceiling insulation provides the biggest energy saving bang for your buck, as heat naturally rises and escapes through the roof.
Accessing Your Roof Space Safely
Use a quality ladder and ensure someone knows you're working in the roof space. Check for adequate lighting and ventilation before starting.
Watch for electrical cables, sharp objects, and structural members. Only step on ceiling joists – plasterboard ceilings won't support body weight.
Laying Bulk Insulation Between Joists
Start at the eaves and work toward the centre, laying batts perpendicular to joists. Butt joints tightly without overlapping or leaving gaps.
For deeper insulation (R5.0+), consider laying a second layer perpendicular to the first, covering the joists for maximum thermal performance. Products like Bradford Gold Hi-Performance R6.0 batts are designed for single-layer installation in standard 190mm joists.
Installing Reflective Foil Correctly
Reflective insulation requires an air gap to work effectively. Install under the roof with the reflective surface facing down toward the living space.
Secure with staples every 300mm, ensuring the foil doesn't sag into contact with bulk insulation below. Overlap joints by 50mm and seal with reflective tape.
Government Rebates and Incentives
Various government programs can significantly offset insulation costs, making upgrades more affordable.
Federal Energy Efficiency Schemes
The Energy Efficient Communities Program occasionally offers grants for community-based energy efficiency projects including bulk insulation upgrades.
Home Energy Saver Scheme in some states provides subsidised energy assessments that can identify insulation priorities and potential rebates.
State-Based Insulation Rebates
Victoria: The Victorian Energy Upgrades program offers rebates up to $1,200 for ceiling insulation in eligible homes.
New South Wales: The Energy Savings Scheme provides certificates that reduce costs for accredited insulation installers.
South Australia: Home Battery Scheme sometimes includes insulation components as part of comprehensive energy packages.
Queensland: The Solar for Rentals trial includes insulation upgrades for eligible rental properties.
Check your state energy department website for current programs, as rebate availability changes frequently.
Cost Savings and Return on Investment
Proper insulation delivers excellent returns on investment through reduced energy bills and improved comfort.
Payback periods typically range from 2-5 years depending on climate zone, existing insulation levels, and energy prices. Ceiling insulation pays back faster than wall insulation in most situations.
Annual savings for a typical Melbourne home upgrading from no insulation to minimum code requirements: $800-1,200 per year on heating and cooling costs.
Property value increase of $10,000-20,000 for comprehensive insulation upgrades, plus improved comfort and reduced greenhouse gas emissions.
| Insulation Upgrade | Cost (DIY) | Annual Saving | Payback Period |
|---|---|---|---|
| Ceiling R3.5-R6.0 | $800-1,500 | $400-600 | 2-3 years |
| Wall R1.5-R2.5 | $1,200-2,000 | $200-400 | 3-5 years |
| Combined upgrade | $2,000-3,500 | $600-1,000 | 2-4 years |

Bottom Line
DIY wall and ceiling insulation installation is achievable for most homeowners and delivers substantial energy savings with relatively quick payback periods. Focus on ceiling insulation first for maximum impact, then tackle walls for comprehensive thermal performance.
Safety equipment and proper technique are non-negotiable – take time to do it right rather than rushing and compromising performance. Research available government rebates before starting, as they can significantly reduce project costs.
With energy prices continuing to rise, insulation upgrades are one of the most cost-effective home improvements you can make. Start with a plan based on your climate zone requirements, invest in quality materials from reputable suppliers like Bunnings or Total Tools, and enjoy decades of improved comfort and lower energy bills.