How to Fix Squeaky Floorboards: Screws, Nails and Underfloor Access
Quick summary: Squeaky floorboards are almost always caused by timber rubbing against timber or loose fixings, not a structural problem. You can usually fix them yourself using screws driven from above or below, timber shims, or specialty gap-filling products from Bunnings. Most repairs take under an hour and cost less than $30.
That third-from-the-left floorboard in the hallway. You know the one. Every household with an older timber floor has at least one board that announces your midnight fridge raids to the entire street.
The good news? Fixing squeaky floorboards is one of the most satisfying weekend jobs going. No trade skills required, minimal tools, and you get instant, audible proof it worked.
Why Do Floorboards Squeak?
Why do my floorboards squeak when I walk on them? In almost every case, it's friction. Timber boards rub against each other, against nails that have worked loose, or against the joists underneath. That rubbing creates the squeak.
It's rarely a sign of serious structural damage in Australian homes, especially timber-framed houses built before the 1980s where boards were often face-nailed directly to joists without adhesive.
Common Causes of Timber Floor Movement
A few usual suspects cause the movement:
- Timber shrinkage — boards dry out over decades, leaving small gaps and looseness
- Loose or popped nails — the original nails have worked their way up slightly
- Joist movement — subfloor framing has flexed or dried, creating small gaps between board and joist
- Seasonal humidity changes — timber expands and contracts, which is completely normal in Aussie climates from Brisbane humidity to Melbourne's dry winters
- Subfloor bracing gone missing — original blocking between joists has come loose over time
None of these are emergencies. They're just annoying.

Diagnosing the Squeak
Before grabbing tools, spend ten minutes finding exactly where the noise comes from. Guessing wastes time and can mean unnecessary holes in good flooring.
Locating the Source From Above
Walk slowly across the affected area in socked feet, applying your full weight in a rocking motion at each board. Get a helper to mark the exact spot with painter's tape the moment they hear the squeak.
Do this from a few directions — sometimes the squeak only happens with weight applied at a certain angle, which tells you where the friction point actually sits.
Checking Access From Below
Can you fix squeaky floors from underneath the house? Yes, and it's often the cleanest method because it leaves the top surface completely untouched — no filled screw holes, no visible repairs.
If you've got a subfloor crawl space, exposed joists in a basement, or an unfinished ceiling below (common in Queenslanders on stumps), grab a torch and head down while your helper walks the floor above. Watch for movement between the board and joist, or gaps where blocking has come away.
No underfloor access? You're limited to working from above, which is still very doable.
Fixing Squeaky Floorboards From Above
This is the most common approach for suspended timber floors, especially in older weatherboard and brick homes across Sydney and Adelaide's older suburbs.
Using Screws vs Nails
What screws are best for fixing squeaky timber floors? Screws, hands down. Nails can work loose again over time as timber continues to move, but a screw's thread grips the joist and won't back out.
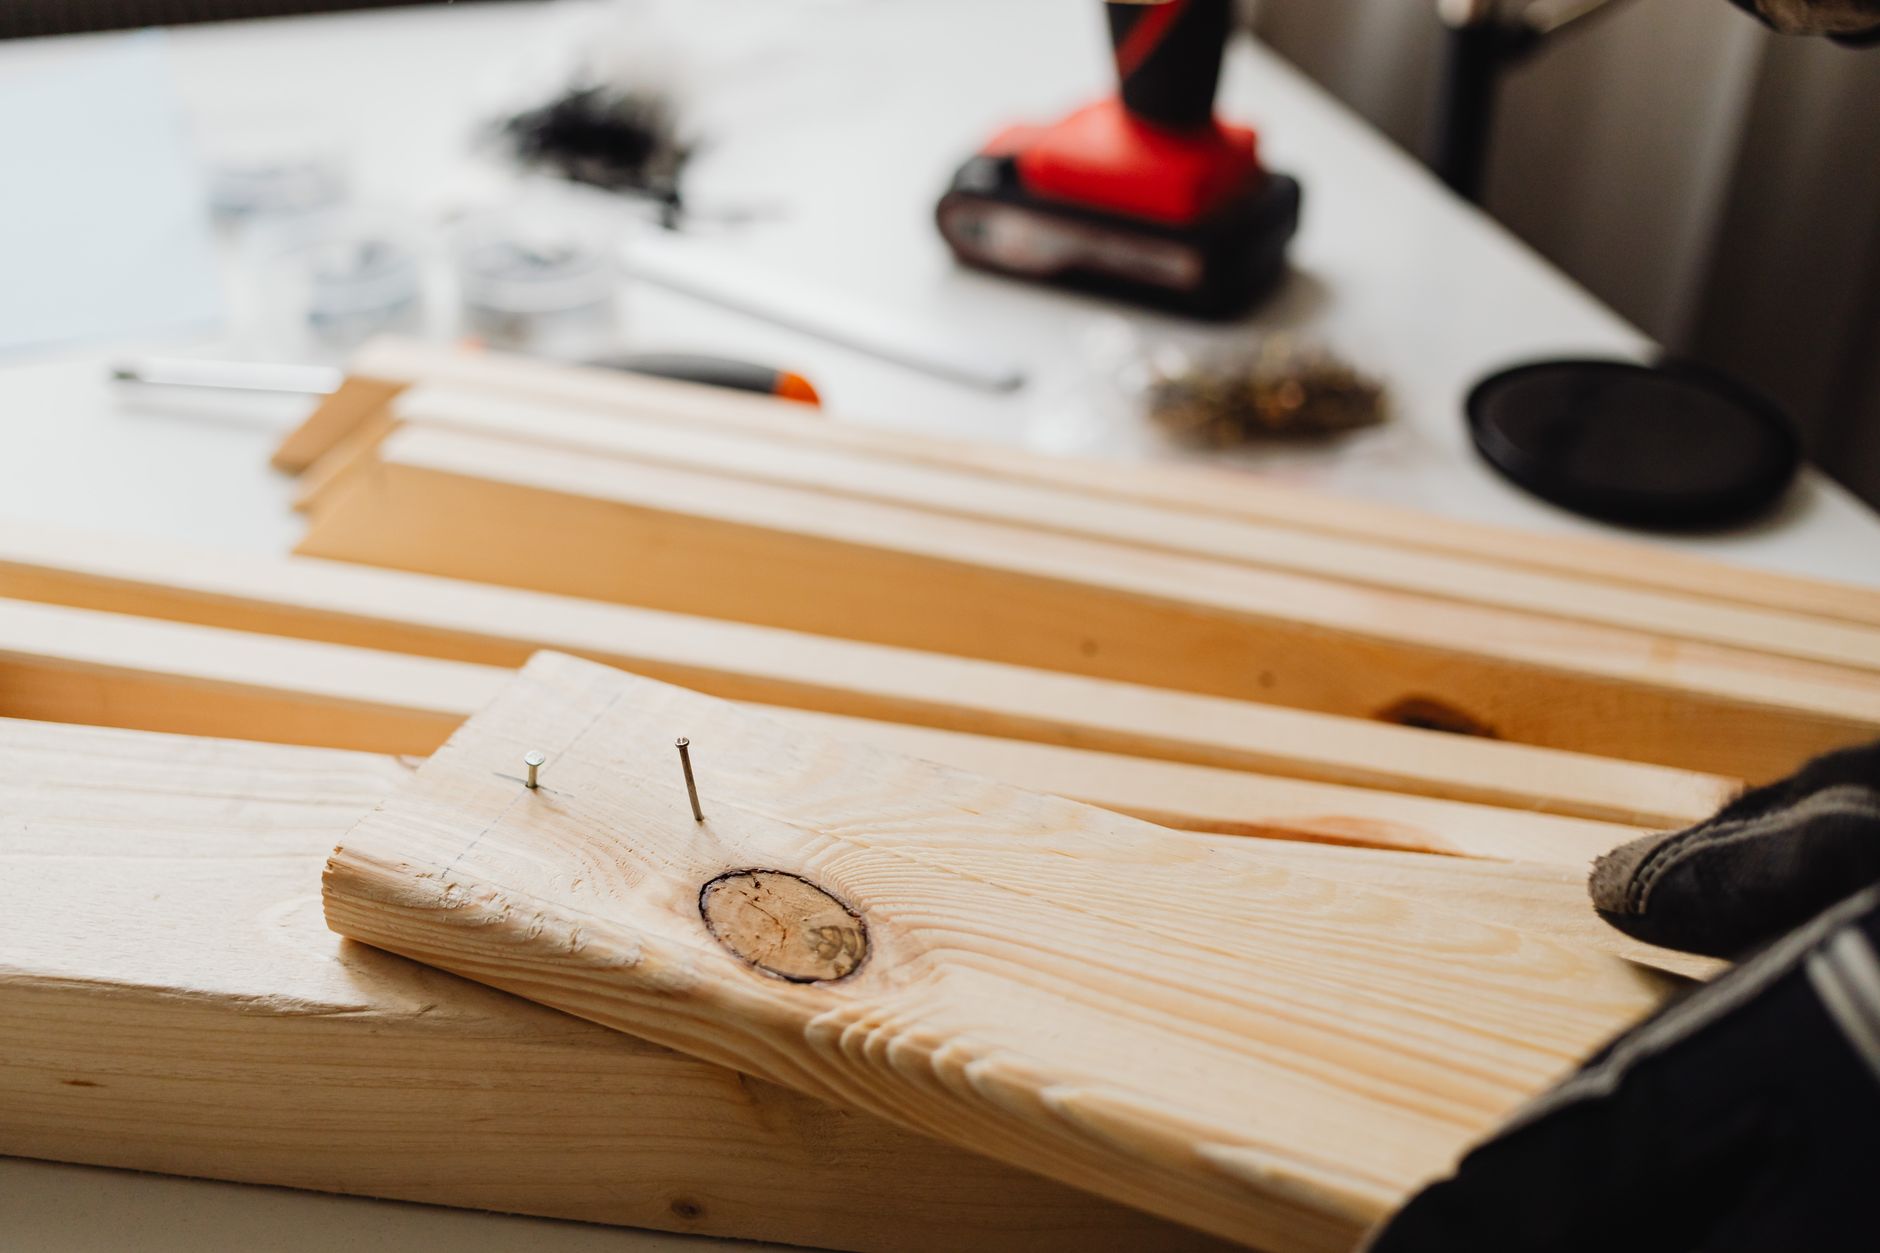
Use a trim head or countersunk timber screw, roughly 50–65mm long depending on your board thickness, so it bites well into the joist below without popping through the top.
The Zenith trim head timber screws 50mm work well for this job, as do batches from Bunnings' own screw range in the flooring aisle — expect to pay around $12–$18 for a pack of 100.
Steps:
- Locate the joist beneath the squeaky board (use a stud finder, or measure from a known joist location, usually 450mm centres)
- Pre-drill a pilot hole to avoid splitting the timber
- Drive the screw at a slight angle through the board into the joist
- Countersink slightly below the surface
- Fill the hole with matching timber filler
A cordless drill with adjustable clutch, like the Ryobi ONE+ 18V cordless drill driver , makes this a fast job — set the clutch low so you don't overdrive and strip the pilot hole.
How do I fix squeaky floorboards without removing the flooring? This exact method. You never lift the board — you're simply re-fixing it in place from the top, filling the hole afterwards so it's barely noticeable.
Gap-Filling Products From Bunnings
Sometimes the squeak isn't a loose board but a gap between boards rubbing together. For this, you don't need screws at all.
Bunnings stocks a few handy options:
- Selleys No More Gaps Timber Flex — flexible filler that moves with the timber, ideal for gaps up to 5mm
- Powdered graphite — squirted into the gap, acts as a dry lubricant to stop the rubbing noise without any filling
- Talcum powder — the cheapest trick in the book, brushed into tight gaps between boards
How do I stop squeaky floorboards under carpet? This is trickier since you can't see the boards directly. Locate the squeak by feel and weight-testing through the carpet, then use a specialty carpeted-floor squeak-fixing kit — Bunnings and Total Tools both stock kits with breakaway screws designed to be driven through carpet and underlay into the joist, snapping off flush below the carpet pile so there's no visible repair at all.
Fixing Squeaky Floorboards From Underneath
If you've got underfloor access, this is genuinely the better method — it's invisible from above and lets you address the actual structural cause rather than just clamping the symptom.
Adding Blocking and Shims
Once you've spotted the gap or movement between board and joist from below, you've got two main fixes:
Shims — thin timber wedges tapped gently into any gap between the board and joist. Don't force them in too hard or you'll actually lift the board and create a new squeak elsewhere. A light, snug fit is all you need, with a dab of PVA wood glue for extra hold.
Blocking — short lengths of timber (offcuts of 90x45 pine are perfect) screwed between joists to add extra support under a board that's flexing due to a lack of nogging. This is common in older homes where original noggings have come loose or were never fully installed.
For both methods, you can also screw up through the joist into the floorboard using short screws — just make sure they're shorter than the combined thickness so nothing pokes through the top surface.
| Method | Best for | Difficulty | Approx. cost |
|---|---|---|---|
| Screws from above | Loose board over accessible joist | Easy | $15–$25 |
| Gap-filler / graphite | Boards rubbing together | Very easy | $10–$20 |
| Carpet squeak-fix kit | Squeaks under carpet | Easy–moderate | $25–$40 |
| Shims from below | Gap between board and joist | Moderate | $10–$15 |
| Blocking from below | Missing or loose noggings | Moderate | $20–$35 |
When to Call a Professional
Most squeaks are a genuine DIY job, but call in a licensed carpenter or building inspector if you notice:
- Springy or bouncy floors alongside the squeak, which can indicate joist damage or rot
- Squeaking paired with sagging or visibly uneven flooring
- Signs of moisture, mould, or termite damage in the subfloor
- Squeaks across a very large area of the house all at once, suggesting a subfloor-wide issue rather than one loose board
A pre-purchase building inspector or local carpenter will typically charge $150–$300 for an assessment and can flag whether it's cosmetic or something more serious.
Preventing Future Squeaks
A few habits keep the squeaks from coming back:
- Keep indoor humidity reasonably stable — a small dehumidifier helps in humid coastal homes
- Avoid dragging heavy furniture across boards, which loosens fixings over time
- Re-check screw fixings every few years, particularly in high-traffic hallways
- Address small squeaks early, before the movement gets worse and starts affecting neighbouring boards
The Bottom Line
Fixing squeaky floorboards is one of the easier home repairs you'll tackle, and in most Aussie homes it comes down to a $20 pack of screws, a Saturday afternoon, and a bit of patience finding the exact spot. Work from above if that's all you can access, but if your home has a crawl space or open subfloor, going in from underneath gives a cleaner, invisible fix. Save the professional call for floors that feel spongy, sagging, or damaged — everything else is well within reach of a confident DIYer with a cordless drill.